


DIY: How to Change Your Oil Filter Like a Pro
Changing oil filters is one of the easier car maintenance jobs you can do at home. It's also one of the most important routine maintenance tasks that can help your vehicle last longer. Ultimately, you'll save money with DIY oil filter changes since you won't be paying extra to visit a lube shop.
When you change your engine oil, you should always change your oil filter at the same time. In this oil filter replacement guide, you'll learn how to change your engine oil and replace your filter, as well as the tools needed for an oil filter change. You should expect to spend about 30 to 60 minutes changing your oil. Let's take a look.
Tools and Items You'll Need
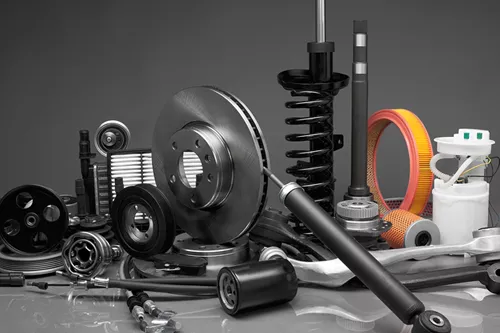
To start, you'll need the correct amount and weight of oil for your vehicle. You can typically find this information in your owner's manual. You'll also need an oil filter, which is easy to find at AutoNation Parts when you enter your vehicle information. The rest of the tools and items you'll need are as follows:
- Pan to catch draining oil
- Basic wrench set
- Ratchet and socket set
- Oil filter wrench
- Work gloves
- Jack and jack stands
- Creeper
- Plastic clip removal tool
- Funnel
If you have a 4WD truck or SUV with good ground clearance, you probably won't need to jack it up to get to the oil filter or oil drain plug.
Step-By-Step Oil Filter Replacement
Step 1
If you need to lift your vehicle to get under it, do that first with a floor jack. In this case, you'll be lifting the front end. However, it's not safe to work under a vehicle held up only by a floor jack, so you'll want to support the lifted vehicle on jack stands.
Step 2
Use a creeper to get beneath the vehicle to find the oil drain plug. Many modern cars have a plastic undertray that needs to be removed first. These are often attached with a combination of bolts, screws, and/or plastic clips.
Step 3
Once you find the plug, position your bucket or pan beneath the plug area. Make sure you have something that holds a lot of liquid. Most vehicles have at least a gallon of oil in the crankcase, and some vehicles have a lot more. The larger the engine, the more oil it has.
Step 4
Use a wrench to remove the plug. The size may vary depending on your vehicle. Once the plug is loose, hold onto the plug as you slowly unscrew it. Make sure you're not directly under the opening. As soon as you pull it away, the oil will start pouring out. It might take up to five minutes to drain.
Step 5
While the oil drains, you can locate and remove the oil filter. This is usually a can-like item screwed onto the engine. It might be a bright color like blue, red, or white. Some oil filters are larger than others. Some engines also have housings that you add a filter into. Use your hand or an oil filter wrench to loosen and remove the filter.
Step 6
Before installing the new filter, ensure you don't leave the old rubber O-ring behind. If this isn't removed, the new filter won't seal properly. Screw the oil filter on where you took the old one off, but don't overtighten it, or it will be difficult to remove later. Dab some new oil around the rubber ring on the filter to help it seal. Use a rag to clear excess oil from any surfaces nearby.
Step 7
Before you start refilling your oil, you must replace the drain plug. This is one of the most common mistakes made in changing oil, even by those who do it often. Move the drain pan out from under the vehicle, and then get back under the vehicle to replace the plug. Don't overtighten the plug if you want any chance of removing it easily the next time you change your oil.
Step 8
Now it's time to refill your engine with oil. Add the amount indicated by your owner's manual. In some cases, it's not too difficult to add oil to your engine without a funnel, but a funnel ensures a clean procedure, and it's easier for large engines where you might be pouring out of a large oil container. Once it's filled, confirm the oil level with the dipstick and check for leaks.
Step 9
The final step is to close the hood, lower your vehicle, and remove the jack stands. Start your vehicle up, and let it idle and warm up. Check around the vehicle for signs of leaks.
Explore High-Quality Replacement Oil Filters at AutoNation Parts
Using a high-quality oil filter is one of the most important elements of changing your oil at home. You can find quality replacement oil filters at AutoNation Parts by entering your vehicle information in the vehicle selector. Take advantage of fast shipping, and the part will be at your door in no time.