


How to Check Your Brake Pads

Brake pads are an essential component of your vehicle's braking system. They play a crucial role in ensuring your safety on the road. Therefore, it's important to know how to check their condition and when to replace them. In this guide, we'll walk you through the process of checking your brake pads.
Understanding the Importance of Brake Pads

Before we delve into the 'how-to', let's first understand why brake pads are so important. Brake pads are the elements in your braking system that create friction to slow down or stop your vehicle. They work by pressing against the brake rotors, causing your car to slow down or stop. Without functioning brake pads, your vehicle's stopping ability is significantly compromised, which can lead to dangerous situations on the road.
Over time, due to the constant friction, brake pads wear down and need to be replaced. Ignoring worn-out brake pads can lead to more expensive repairs in the future, such as damaged rotors or brake failure. Therefore, regular inspection and timely replacement of brake pads are essential for maintaining your vehicle's safety and performance.
Signs That Your Brake Pads Need Checking
There are several signs that indicate your brake pads may need checking or replacing. One of the most common signs is a squeaking or squealing noise when you apply the brakes. This noise is usually caused by the wear indicator, a small metal piece that starts making contact with the rotor when the brake pad material is significantly worn down.
Another sign is a grinding noise, which usually indicates that the brake pads are completely worn out, and the metal backing of the pads is rubbing against the rotors. This situation requires immediate attention, as it can cause significant damage to the rotors.
Other signs include a decrease in braking performance, the vehicle pulling to one side when braking, or the brake pedal feeling softer or spongier than usual. If you notice any of these signs, it's time to check your brake pads.
How to Check Your Brake Pads
Step 1: Gather Your Tools
Before you start, make sure you have the necessary tools. You'll need a flashlight, a tire iron for removing the wheel, and a jack to lift the vehicle. Safety should always be your priority, so also make sure you have a jack stand to support the vehicle while it's lifted.
Step 2: Remove the Wheel
After gathering your tools, the next step is to remove the wheel. Start by loosening the lug nuts with the tire iron while the vehicle is still on the ground. Then, use the jack to lift the vehicle and place the jack stand underneath for support. Once the vehicle is securely lifted, you can fully remove the lug nuts and take off the wheel.
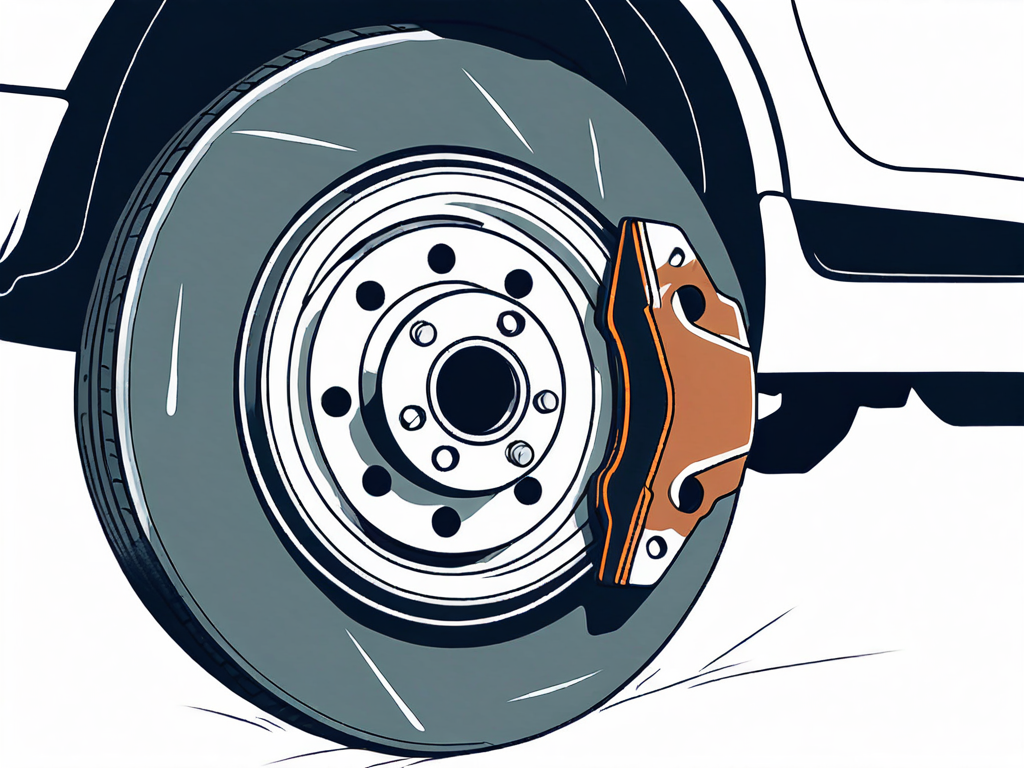
Step 3: Inspect the Brake Pads
With the wheel removed, you can now inspect the brake pads. They are located between the brake caliper and the brake rotor. Use your flashlight to get a good look at the pads. What you're checking for is the thickness of the pad. A good rule of thumb is that if the pad is less than 1/4 inch thick, it's time to replace it.
Step 4: Check for Other Signs of Wear
While you're inspecting the brake pads, also check for other signs of wear. Look for any uneven wear patterns, cracks, or other damage on the pads. Also, check the condition of the rotors. If you see deep grooves or scoring on the rotors, it may be time for a rotor replacement as well.
Find Genuine Brake Parts at AutoNation Parts
Checking your brake pads is a simple yet crucial part of vehicle maintenance. By regularly inspecting your brake pads and replacing them when necessary, you can ensure your vehicle's braking system is functioning properly, enhancing your safety on the road.
If you find that your brake pads or other brake system parts need to be replaced, AutoNation Parts carries genuine manufacturer parts for your vehicle, including major brands! Get up to 35% off MSRP by shopping online today.